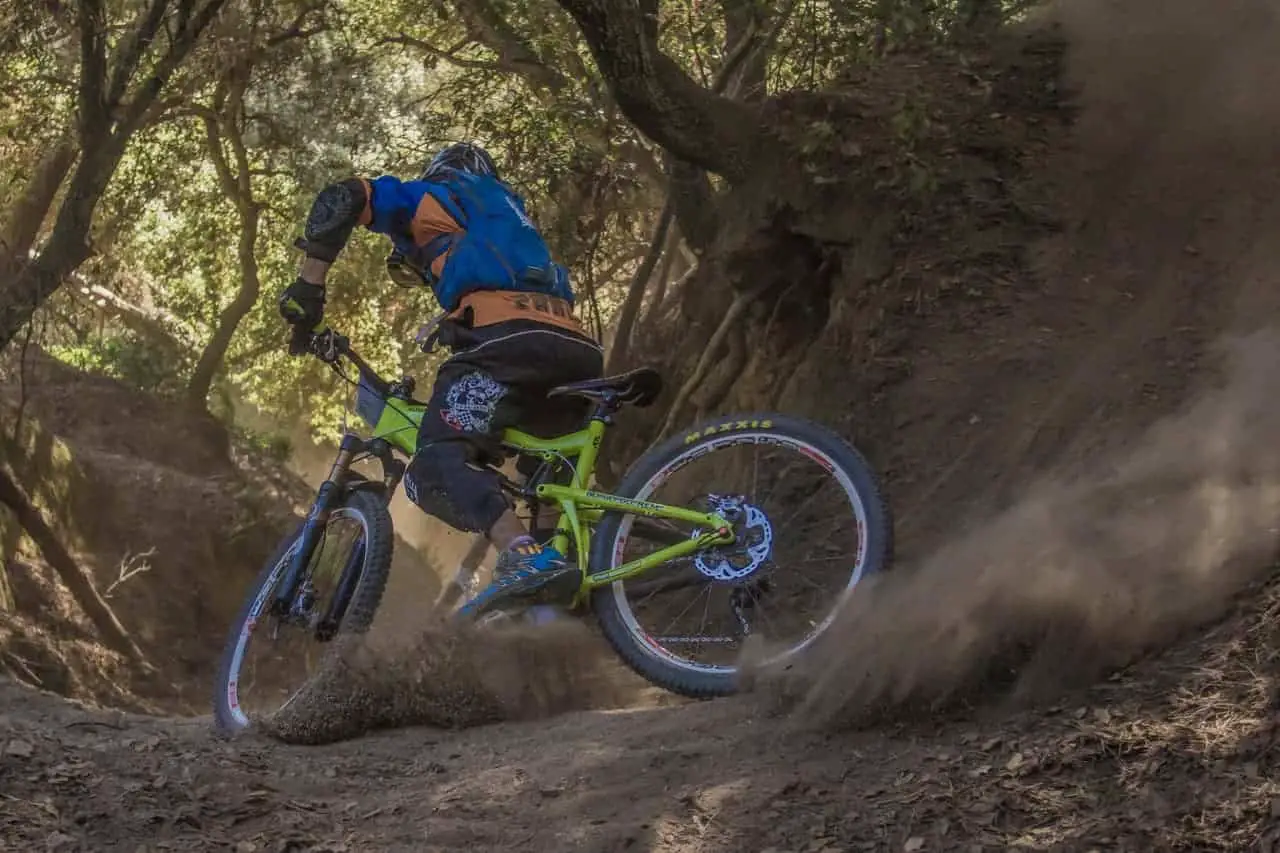
Despite the name, mountain biking doesn’t require you to live near the mountains. Any off-pavement riding qualifies as this activity, which offers great exercise and time in nature. The inclines and downhill stretches of mountains or hills just add an additional challenge. Mountain biking does require skills that are different than typical road cycling, and using your body appropriately can be critical. The sports chiropractors at Fox Integrated health want to ensure you are riding safely by following the tips below.
Body Positioning
What you will learn in this Article
The key to successfully mountain biking is proper positioning of your body. Mountain biking trails may contain rocks, sand, roots, or mud- this varying terrain can be unnerving, and the proper position can help you get through these more difficult areas. There are two primary positions: neutral and position.
The neutral position is best for the non-technical sections of a trail, as it will keep you moving efficiently and comfortably. It will also allow you to easily transition into the ready position for more technical terrain. The neutral position includes level and evenly weighted pedals, a slight bend in the knees and elbows, index fingers on brake levers 100% of the time, and eyes looking forward about 20 feet.
A steeper or less even trail will require you to switch to the ready position, also known as the attack position. This gets you prepared to take on these difficult sections. The ready position includes level and evenly weight pedals, a deep bend in the knees and elbows, your butt lifted off the seat with hips back, your back nearly parallel to the ground, index fingers on the brake levers, and eyes looking ahead.
Seat Positioning
In order to effectively climb and descend, your seat positioning can be critical.
When climbing, you want to achieve maximum efficiency in pedaling. When you keep your foot at the bottom of the pedal, you will have a slight bend in the leg, leaving you at about 80-90% of full leg extension. This lets you use your major leg muscles for powerful pedaling.
When it’s time to descend, drop your seat 2 or 3 inches from the height it was at for climbing. This allows you to control your center of gravity and more confidently tackle steep descents. You may experiment with different heights to find the one that works best for you.
In addition to position, picking the best bike saddle for your body type is crucial for comfort.
Braking
While it sounds simple, braking can be nuanced and is extremely important to be secure on the bike. Some tips for braking include:
- Lightly apply pressure to the brakes, evenly distributing pressure between the front and back brakes. Sudden and fast squeezes will lead to skidding.
- Before braking, brace yourself by moving your hips back, dropping your heels, and bending your knees and elbows.
- Brake before you hit a turn, then let your momentum carry you through. This way, you can focus on your technique rather than speed. This can also help with obstacles on the trail.
Other Tips
A beginner’s mistake is picking spots to avoid, rather than focusing on where you want to go. The best thing you can do is pick a path and stick to it, generally looking about 20 feet ahead. Once you identify that spot, trace a line back to your wheel, keeping an eye out for hazards.
Shifting your gears properly will save wear and tear on the bike as well as giving you more power when cycling on hills. Shifting often builds muscle memory, so it’s a good habit for beginners to start. Shifting early is also key, as it allows you to keep up a steady cycling speed for more power. Shifting before you hit steep or rough terrain saves the bike from wear and tear.
If you know you are going to fall, keep your arms in rather than trying to brace yourself. Always check your bike for damage after a fall.
